This post may contain affiliate links which means I may receive a commission for purchases made through links.
If you’ve ever dreamed of getting the chance to build ratrod from scratch, but don’t know where to start, don’t worry! In this step-by-step guide, I’ll guide you on the steps on how to build a ratrod from scratch, even if you have little to no experience in car building.
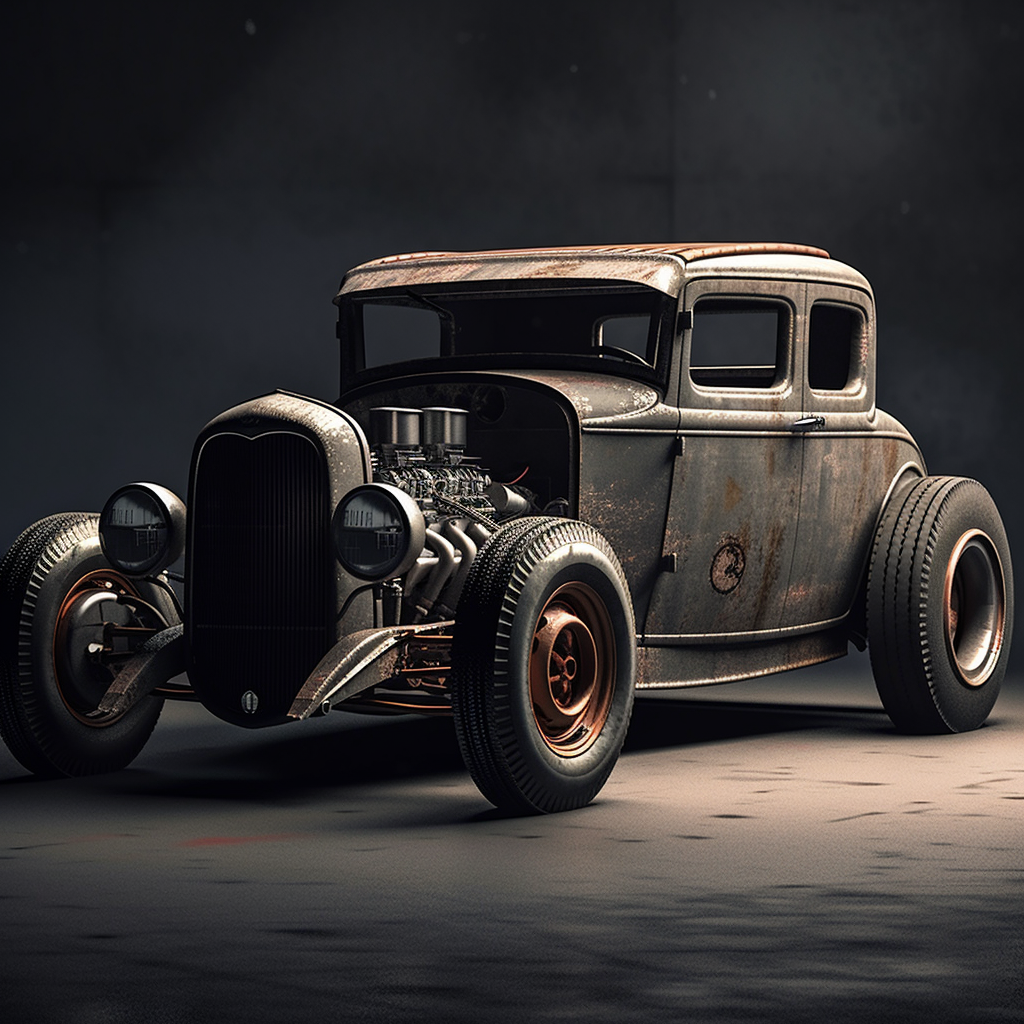
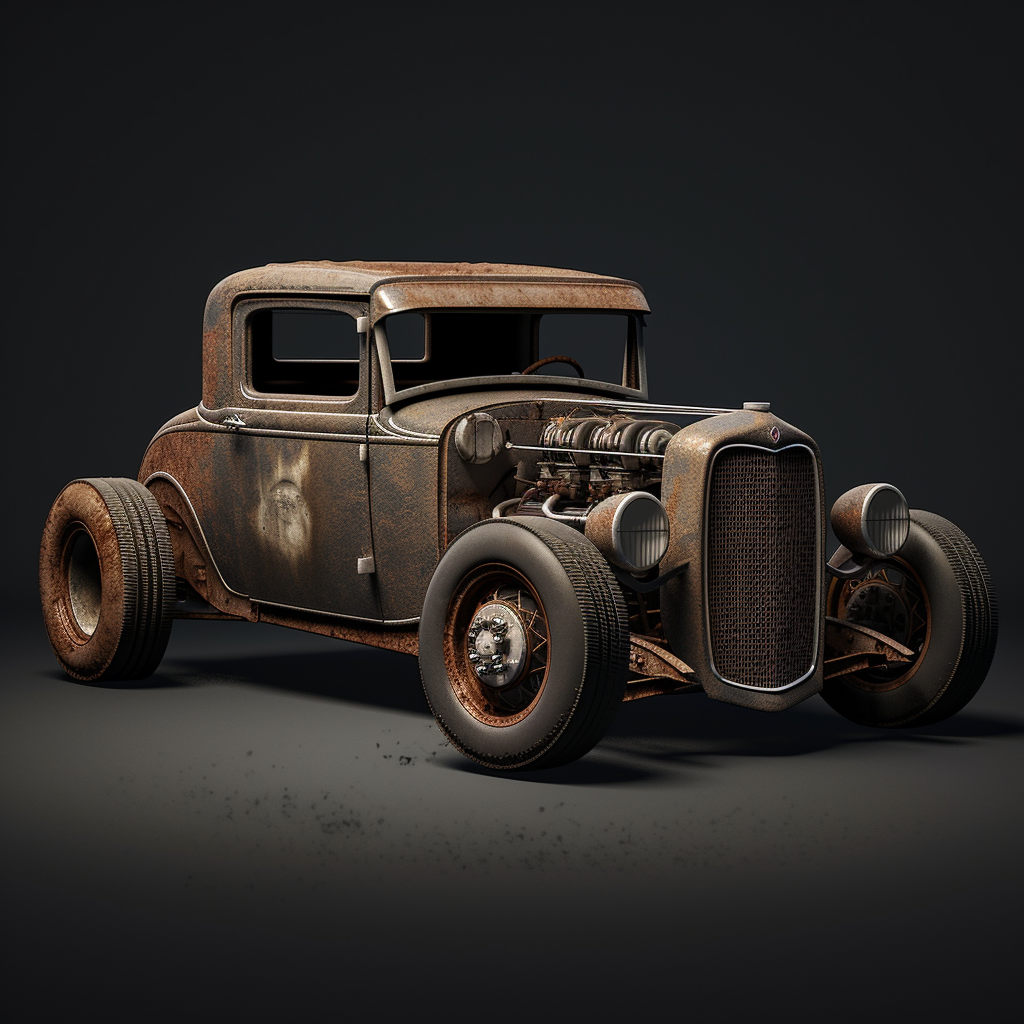
Before we get started, it’s important to understand that ratrods are customized cars that are built from scratch using old or salvaged parts. They’re typically designed to look rough around the edges, with an emphasis on function over form. With that said, let’s get started
Step 1 to Build a Ratrod : Find a Base Vehicle
The first step in building a ratrod is finding a base vehicle. You can use just about any car as a base, but some popular options include old Fords, Chevys, and Dodges. Look for a car that’s in decent solid frame. You may have found a body of an old car you want to use, but finding a good framed roller is something you need to find. You can always attach the body you found to the “base” roller.
Step 2 to Build a Ratrod : Strip the Vehicle
Once you have your base vehicle, it’s time to start stripping it down to its frame. Remove all unnecessary parts, such as the interior, windows, and doors. You can sell these parts to recoup some of your costs.
Step 3 to Build a Ratrod: Clean and Repair the Frame
With the vehicle stripped down, it’s time to clean and repair the frame. Remove any rust and patch any holes using a welder. You can also reinforce the frame to make it stronger.
Step 4 to Build a Ratrod: Choose an Engine
Next, you’ll need to choose an engine for your ratrod. You can use just about any engine, but some popular options include Chevy small-blocks and Ford flatheads. Make sure the engine you choose fits within your budget and will work with the transmission you plan to use.
Step 5 to Build a Ratrod: Install the Engine and Transmission
Once you have your engine and transmission, it’s time to install them into the car. This can be a tricky process, so it may be helpful to enlist the help of a friend or professional mechanic. Make sure everything is properly aligned and secured before moving on.
Step 6 to Build a Ratrod: Add Suspension and Brakes
With the engine and transmission in place, it’s time to add suspension and brakes. You can use salvaged parts or purchase new parts, depending on your budget. Make sure everything is properly installed and functioning before moving on.
Step 7 to Build a Ratrod: Install Wheels and Tires
Next, it’s time to install wheels and tires. Choose wheels that fit the look and feel of your ratrod. You can use classic steel wheels or opt for something more modern.
Step 8 to Build a Ratrod: Add Body Panels
Once the car is functional, it’s time to add body panels. You can use salvaged parts or purchase new parts, depending on your budget. Ratrods are typically designed to look rough around the edges, so don’t worry too much about perfection.
Step 9 to Build a Ratrod: Paint and Finish
With the body panels in place, it’s time to paint and finish the car. Ratrods are typically painted in a flat or matte finish, but you can use any paint you like.
Step 10 to Build a Ratrod: Test Drive and Enjoy!
With your ratrod complete, it’s time to take it for a test drive and enjoy the fruits of your labor! Make sure everything is functioning properly before taking it out on the road.
Building a ratrod from scratch can be a challenging but rewarding process. Remember, these steps are a guide and not necessarily listed in order. Feel free to follow them in any order after choosing your base. Don’t let money be an issue. Check out building a rat rod on a shoestring budget.